

How To Install Lithonia Recessed Lighting
How to Install Recessed Lights with Attic Admission
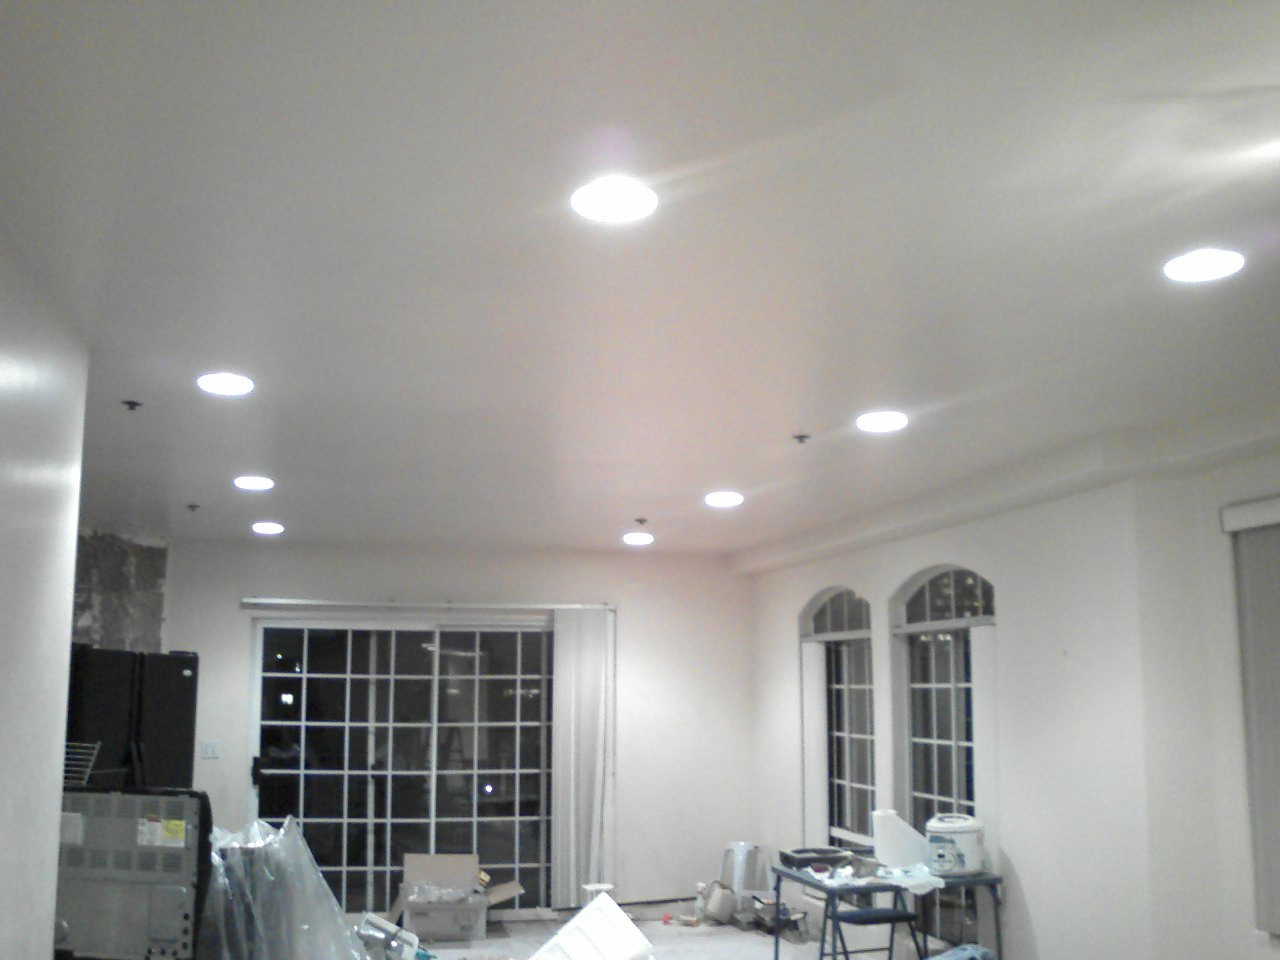
Discerning homeowners know that recessed lighting tin can transform whatever interior space. Whether these lighting fixtures are used to focus brilliant low-cal onto piece of work spaces like kitchen counters, used to set the mood with gentle illumination, or provide dramatic highlighting of architectural features or artwork, these versatile lights are a not bad choice for domicile interiors. In that location are many recessed lighting models to choose from, ranging in size from four-inch diameters all the way to seven inches or more. In homes that have cranium access, installing these light fixtures is a snap. In this guide, we volition talk over a typical recessed calorie-free installation in homes with cranium access.
Selecting the Proper Recessed Lighting Fixture
Earlier talking well-nigh the installation procedure, it is useful to sympathize the components of the low-cal fixture itself and the types of fixtures, allowing the homeowner to cull the right type for a specific application.
Recessed lighting fixtures are comprised of two primary components, the housing itself and the trim. The housing is the cylindrical portion that fits into the ceiling and contains the electrical junction box and the socket for the light bulb. The trim fits into the housing to provide a finished appearance once the installation is complete. Trims tin can exist ribbed or equipped with reflectors to spread the light out. Some trims may be positioned to focus the low-cal onto specific areas; these trims are sometimes referred to as "fish eye" or "gimbal" trims.
Of the many types of housings, they are generally divided into two major categories. These are remodel housings and new structure housings. Each receives support in a dissimilar manner. Remodel housings have metal clips that contact the upper surface of the ceiling drywall or panel, holding the fixture into place. New construction housings, on the other hand, are affixed to the ceiling joists with screws or nails, resulting in a solid, stable connectedness and superior support. Information technology is this blazon of housing that is used when attic access is available. It is important to call back that if ceiling insulation is nowadays, it is required by about electrical codes that the fixture is IC rated, or rated for straight contact with insulation. If not-IC rated housings are chosen, a costly and cumbersome shield must be built or purchased to keep the insulation from touching the hot light fixture.
Installing the Recessed Lighting Fixture
Having access to the attic space makes installation of recessed lighting much more straightforward. The qualified electrician has more room to make wiring runs and connections, and the fixture is mounted directly to the ceiling joists for support. At that place are two other benefits of new structure housings: pick and cost. Lighting manufacturers produce a wider selection of new structure housings in different sizes and configurations than they do in remodel housings. And, new construction housings tend to be less expensive than their remodel counterparts.
Installation differs whether the recessed lighting fixtures are added to new building construction or used to retrofit an existing home. In new domicile construction, the wiring and housing installation is completed before the ceiling drywall is placed. Once the drywall goes up, the trim is screwed or pressed into identify to complete the installation.
For retrofitting an existing interior infinite, such equally in a remodeling project, the electrician starts by mapping out where the lights will become. Once this is completed, cables are run between the fixture locations and any switch boxes used to turn the lights on and off. Holes are cut for the new construction housings using a drywall saw and the template that ordinarily comes with each light fixture. The cables are separated into their private wires and the rough-in wiring begins. The electrician twists the black "hot" wires together, then secures their ends with wire nuts. He or she then does the aforementioned with the white "neutral" wires. If there are grounding wires present, those are also connected to each other. Finally, the wire basics are wrapped in electrical tape to keep them from untwisting.
The new construction housings are ready into place and attached to the ceiling joists with screws or nails. Then, any drywall repairs are completed before the fixture's trim is put into place. The electrician volition then consummate wiring to the switch box, matching the black wires together and screwing them into place in the switch box, connecting the white wires, and attaching the ground wires to the green grounding screw (if applicable). The circuit is complete, and now all that is needed is conscientious testing for function. Recessed lighting can be installed in whatsoever habitation by a qualified electrician. The electrician has the experience needed to complete this job, meeting all applicable electrical codes.
When everything is done, the interior space is transformed. Recessed lighting tin plough a poorly-lit area into i with ample lighting for delicate tasks or gentle mood lighting, lending the interior space a relaxing, sophisticated quality.

Source: https://www.recessedlightingoc.com/install-recessed-lights-attic-access/
Posted by: allenlated1977.blogspot.com
0 Response to "How To Install Lithonia Recessed Lighting"
Post a Comment